New Bumper from Hanson Enterprises: I
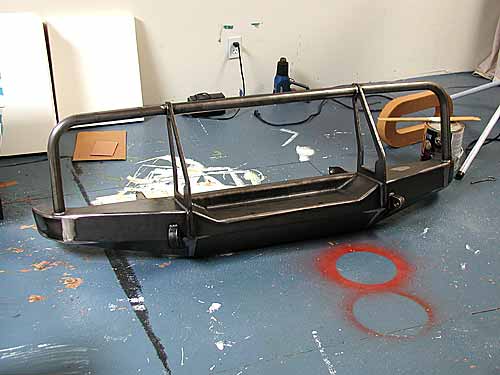
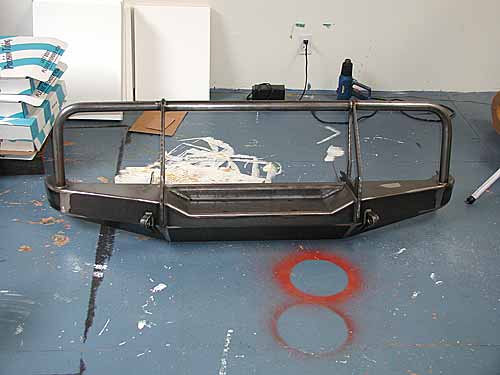
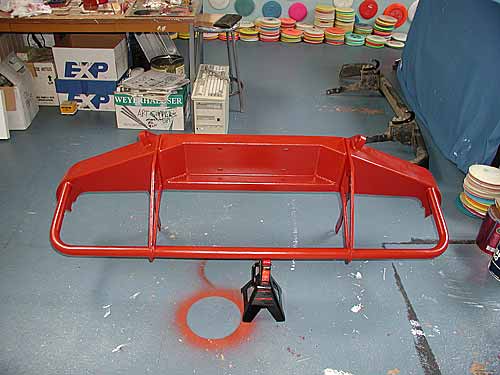
When I got the bumper home from Salinas, it needed to be thoroughly cleaned and degreased so the first coat of primer would adhere well. I used a big scrub brush with some dish soap to clean off all the grime, then rinsed it off and wiped it dry. The four pictures below give a good idea of the way the bumper is constructed. In the backside picture, just to the left of the three mounting holes, you can see where the final weld was done on the mounting bracket arm that reaches back down the unibody rail behind the sway bar mounts. The bracket is 1/4", while the rest of the bumper is made of 3/16" steel.
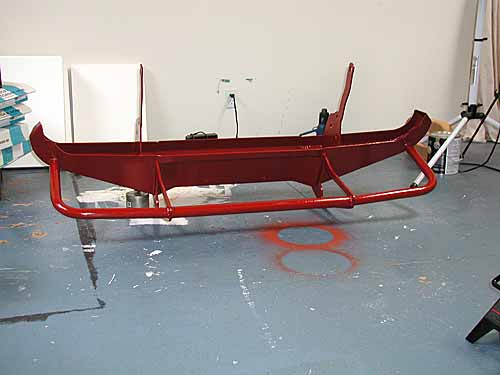
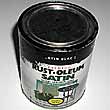
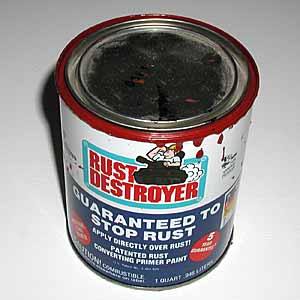
I used a brand of primer called Rust Destroyer for the first coat, which I applied with a brush. This stuff turned out to be very thick and rather har d to deal with, but it looks like a pretty tough product. I gave it two full days to completely dry before the final two coats of enamel. I assumed this stuff, being as thick as it was, would flow and even out like enamel, but after it dried there were some brush marks that didn't really disappear. Probably should have gone over it before it dried with a roller to even the surface out, but the primer coat turned out pretty good. The difficult part was standing the bumper up on the mounting brackets and supporting the front so I could paint the inside and the outside in one shot. I was careful to work the primer up into all the welds on the back side of the bumper to keep future rust problems to a minimum. d to deal with, but it looks like a pretty tough product. I gave it two full days to completely dry before the final two coats of enamel. I assumed this stuff, being as thick as it was, would flow and even out like enamel, but after it dried there were some brush marks that didn't really disappear. Probably should have gone over it before it dried with a roller to even the surface out, but the primer coat turned out pretty good. The difficult part was standing the bumper up on the mounting brackets and supporting the front so I could paint the inside and the outside in one shot. I was careful to work the primer up into all the welds on the back side of the bumper to keep future rust problems to a minimum.
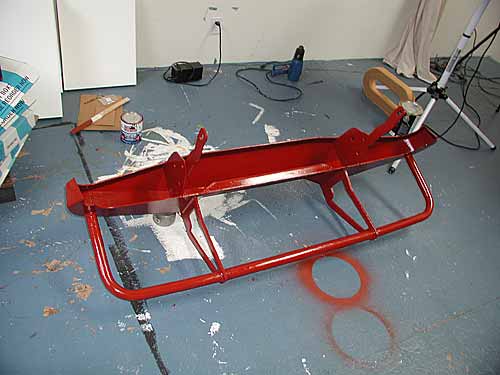
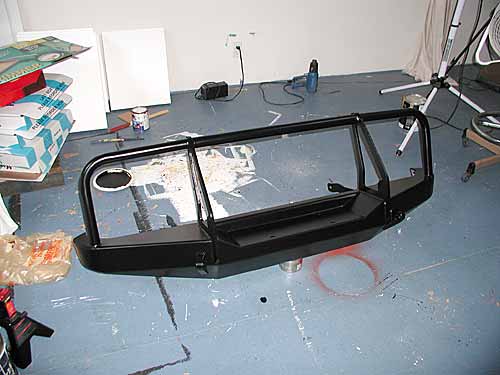
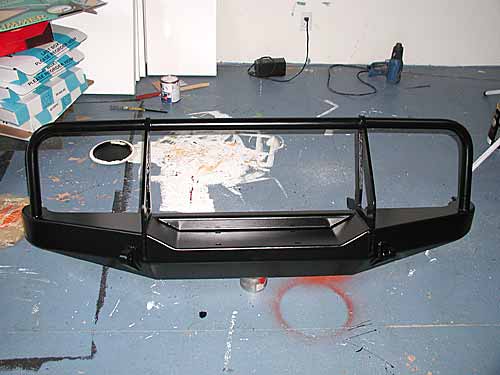
 The final two coats of semigloss black enamel were applied about 24 hours apart, first with a brush and then rollered to even out the finish. The enamel dried pretty fast, so after a few hours it was possible to move the bumper a bit to paint the parts that were blocked by the jack stand I used to support it. I probably only ended up using a pint at most--plenty left over for touch-ups. Below are a few pictures of the final painting stage before the bumper was installed. The final two coats of semigloss black enamel were applied about 24 hours apart, first with a brush and then rollered to even out the finish. The enamel dried pretty fast, so after a few hours it was possible to move the bumper a bit to paint the parts that were blocked by the jack stand I used to support it. I probably only ended up using a pint at most--plenty left over for touch-ups. Below are a few pictures of the final painting stage before the bumper was installed.
Click here for pictures of the bumper after installation
|
|
 d to deal with, but it looks like a pretty tough product. I gave it two full days to completely dry before the final two coats of enamel. I assumed this stuff, being as thick as it was, would flow and even out like enamel, but after it dried there were some brush marks that didn't really disappear. Probably should have gone over it before it dried with a roller to even the surface out, but the primer coat turned out pretty good. The difficult part was standing the bumper up on the mounting brackets and supporting the front so I could paint the inside and the outside in one shot. I was careful to work the primer up into all the welds on the back side of the bumper to keep future rust problems to a minimum.
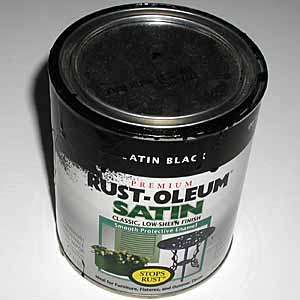 The final two coats of semigloss black enamel were applied about 24 hours apart, first with a brush and then rollered to even out the finish. The enamel dried pretty fast, so after a few hours it was possible to move the bumper a bit to paint the parts that were blocked by the jack stand I used to support it. I probably only ended up using a pint at most--plenty left over for touch-ups. Below are a few pictures of the final painting stage before the bumper was installed.